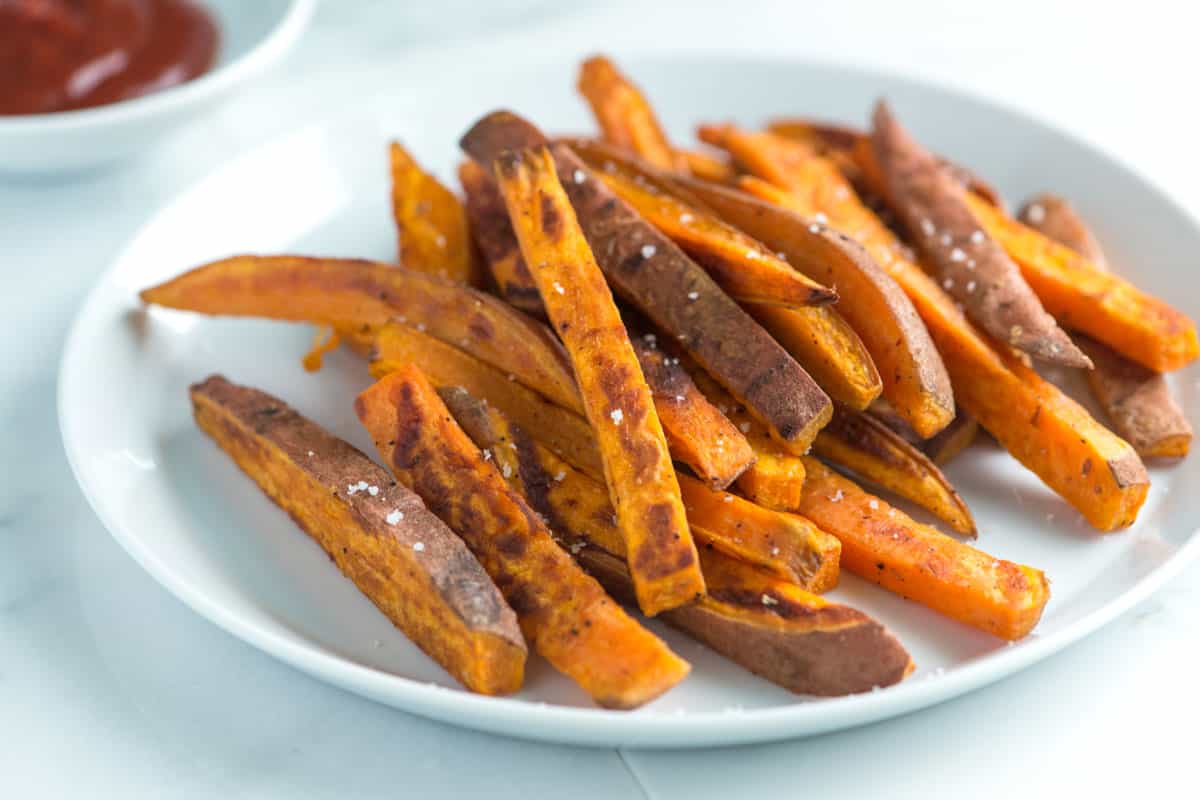
Sweet Potato Fries!
I have had many good sweet potato fries in my life, but who can blame me? They're so good! Anyway, I have also had many not-so-good sweet potato fries. Most homemade fries tend to not be as crisp as restaurant fries. If you've ever had sweet potato fries turn out limp and soft, look no further! I have a few tricks to help you get crispy, crunchy, and delicious fries every time!
First, you need to pick your choice of potato: The Jewel, Garnet, and Hannah are the most common. Potatoes come in many different shapes, sizes, and colors. It's completely up to you.

 In this recipe, I used 2 of the Hannah,
or the white sweet potato.
To start, either wash them really well or peel them. While I'm a big fan of the nutrients in sweet potato skin...(fiber, antioxidants, potassium) I think it's better to peel them this time, for the sake of an even bake.

 Next, cut one 1/2 inch "plank" off of the side of the potato, and put it down on the cutting board This will give you a flat, and safe surface to cut on. Cut 5-6 more planks,(use the whole thing) and repeat with the other potato.
To finish the cutting, stack 2 or 3 planks up, and cut more 1/2 inch sticks. Repeat with all of the planks. I wouldn't recommend stacking more than 2 or 3, as potatoes are very woody and hard.

SOAK YOUR SWEET POTATOES!!! Don't skip this step. Put them in a big bowl, and cover with cold water. Leave them for about 10 minutes. Soaking draw's the excess starch out of the fries, which helps them cook through better to be crispy on the outside, and tender on the inside without burning.

One they're done soaking, drain the water, pat them dry and transfer them to a gallon Ziplock bag. Add 2 tbsp of cornstarch, and shake until all of the fries are very lightly coated. Make sure you leave lots of air in the bag, so the fries have room to move. If you have too many, do this in 2 batches, using 1 tbsp of starch for each batch.

Make sure you preheat your oven to 425F.
Let's talk about oil. While olive oil is great, it will have your oven smoking like crazy before the fries are done. It's better to use oil with a high smoking point like grapeseed, canola, peanut, sunflower, or avocado. Lightly brush the pan, with whichever high smoke point oil you have.
For the seasoning, it's like a thin paste that lightly coats the fries.
1/4 tsp of the following.
paprika
chili powder
ginger
salt
pepper.
Mix the spices with 2 1/2 tsp of oil, and add to a mixing bowl along with the fries. Don't let them sit in the bowl for long, you'll regret it (and have soggy fries). If you have any extra, mix it with some mayo and bbq sauce, for an awesome dipping sauce.

Now, lay the fries on the tray, in a single layer. Depending on how big your potatoes were, you might have to prepare another tray and repeat this process. Try not to crowd the pan, unless you want steamed fries. Don't let them touch if possible.

Bake for 15 minutes, and then flip them over. This is best done with a thin metal spatula or fish spatula. Make sure you're not digging into the foil if you're using it. Rearrange the fries after flipping if needed. Oh, and when you put them back in. Rotate the pan's from top to bottom, and front to back. Take the top pan and put it on the bottom rack and vice-versa. And switch the pans, so that the side that was closest to the front is closest to the back. With both pans.
Bake for another 10-20 minutes. When they're done, turn the oven off, prop the door open a little, and let the fries sit for at least 10 more minutes.
Now all of that work has paid off! Time to enjoy them! Hopefully, they turned out nice and crispy!
Let me know if you have any problems, and I'll try to help.

Sorry, it's been a while...
-Jacey


Comments
Post a Comment